
Macro photography is the art of taking close-up photos to capture intricate details the veins on a leaf to the facets of an insect’s eye, macro photos reveal a hidden world complex, macro photography doesn’t require expensive equipment and produces stunning images when done right.
Choose the right gear
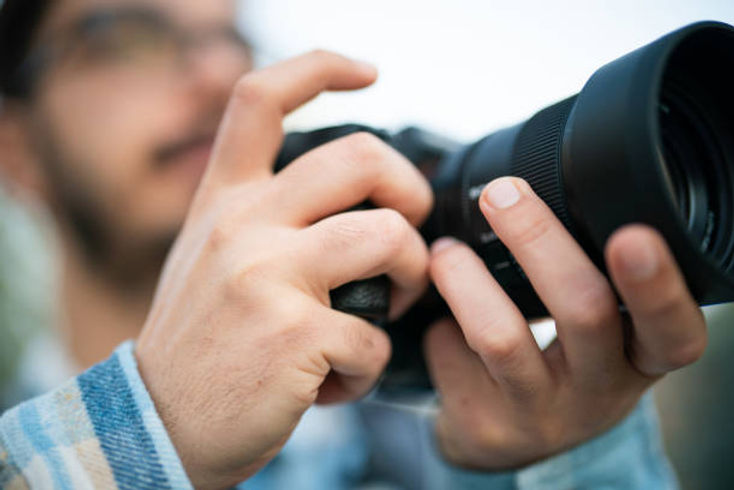
The most expensive camera and lenses to shoot macro even entry-level DSLR cameras are capable of taking detailed close-up shots. What matters most is having a lens that focuses at very short distances. Here are some affordable options to consider:
- Macro lenses: These specialized lenses are designed specifically for close-up photography. They allow you to focus very close to the subject and capture fine details. Macro lenses come in different focal lengths, with longer ones allowing more working distance.
- Extension tubes: Extension tubes physically move your lens further away from the camera sensor. This allows the lens to focus much closer. While they don’t contain any glass elements, extension tubes are an inexpensive way to turn any lens into one capable of macro shots.
- Reversing rings: Reversing rings allow you to mount your lens backward onto the camera. This has a similar effect as extension tubes, permitting very close focusing. While reversing a lens limits its aperture control, it’s a clever DIY approach to macro.
Shoot handheld for versatility
Shooting handheld rather than always on a tripod gives you more freedom to explore different angles, perspectives, and compositions. Modern image stabilization features allow sharp macro shots even at slower shutter speeds. This lets you experiment more to capture your subject creatively. Tripods do have their place for precision focus stacking and very low depth of field macro work. But don’t be afraid to ditch the tripod and shoot handheld when appropriate.
Learn through trial and error
Like any specialized genre, lancaster photographerhas a learning curve. As you work to magnify and capture details creatively, you’ll need to experiment with different camera settings, compositions, and lighting techniques. Don’t aim for perfection right away. Allow yourself to make mistakes and use them as lessons to improve your technique. Over time and with plenty of practice, you’ll develop skills allowing you to reliably produce professional quality macro shots.
Edit photos with care
Post-processing lets you get the most out of your macro shots. Careful editing brings out subtle details and enhances colors. But a heavy-handed approach risks losing realism, so edit macro photos with care. Perform basic raw file adjustments to dial in white balance, recover blown highlights, open up shadows, and sharpen fine details. Use masking to apply clarity, vibrance, and other effects only to key areas that need it.
Macro photography tips from tony ebersole photography
To dig deeper into macro techniques, we reached out to Tony Ebersole of Tony Ebersole Photography. Specializing in macro and wildlife photography, Tony’s portfolio includes stunning extreme close-ups of insects, plants, and animals.
- Stalk your subjects slowly and gently. Macro subjects like bees, butterflies, and frogs are easily spooked if you make sudden moves.
- Look for simple, clean backgrounds. Cluttered backgrounds distract from your tiny subjects.
- Use flash carefully. Flash brings out great detail but also harsh shadows if not diffused properly.
- Try stacking multiple exposures. Combining several incrementally focused shots gives you incredible depth of field.
- Embrace imperfections like dust and water droplets. They add intrigue to organic subjects.